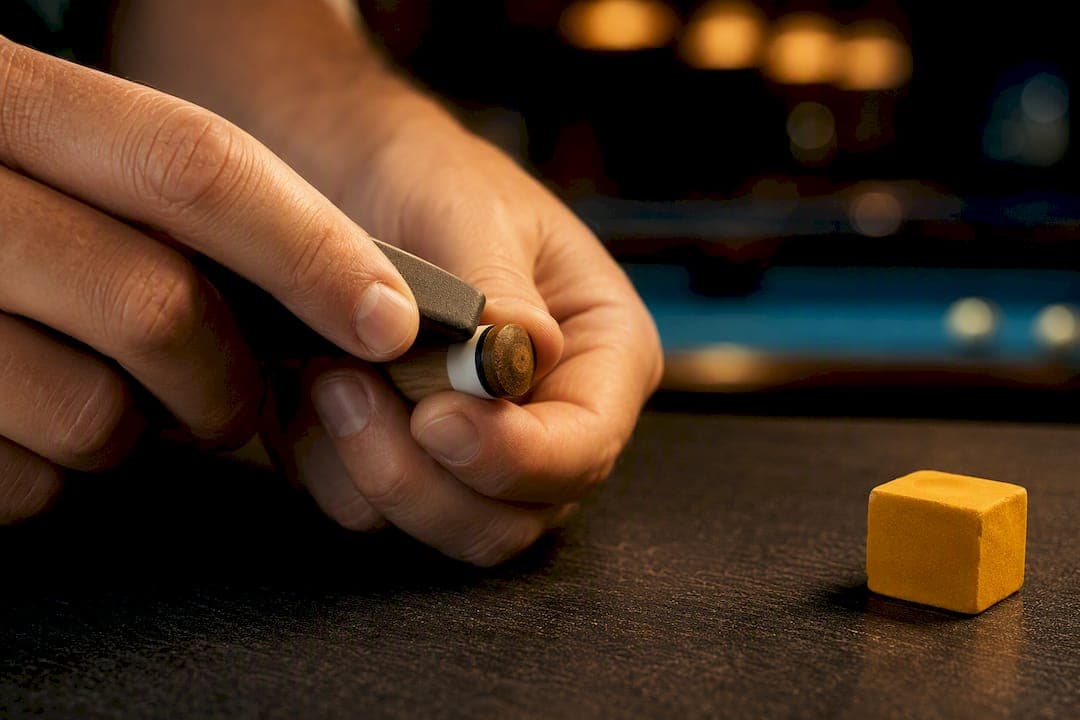
Good cue tip maintenance comes down to four tasks done in order: shape the dome, scuff the surface, burnish the sides occasionally, and chalk before every shot. The whole routine takes a short time, usually about a minute or so and pays off immediately with cleaner contact and fewer miscues, plus a tip that lasts noticeably longer before it needs replacing.
TL;DR:
- Proper cue tip maintenance involves shaping, scuffing, burnishing, and chalking in that order, with each task contributing to contact quality and tip longevity.
- Regular shaping is essential before every session for competitive players, while occasional burnishing helps prevent mushrooming and loss of tip firmness.
- Investment in combination tools and proper chalk storage can significantly reduce leather waste and ensure even chalk absorption.
- Replace tips thinner than 3 to 4 millimeters or if mushrooming and delamination persist despite burnishing, with professional re-tipping recommended in complex cases.
- Layered and carbon fiber tips require the same routine, but bonding issues should be handled by professionals to avoid shaft damage.
Table of Contents
- What Does Cue Tip Maintenance Actually Involve?
- What's the Best Pre-Session Cue Care Routine?
- Which Tools Do You Actually Need for Tip Care?
- When Should You Replace a Pool Cue Tip?
- Do Carbon Fiber and Layered Tips Need Different Care?
- What Mistakes Ruin a Cue Tip Fastest?
- How Do You Clean Chalk Dust and Debris off a Cue Tip?
- Where Should You Store Your Cue to Protect the Tip?
- A Habit Worth Building Into Every Session
- Practice What You've Learned at Q Billiards Arena
- Sources
- FAQ
What Does Cue Tip Maintenance Actually Involve?
Four tasks make up real cue tip care, and skipping the order matters as much as skipping the tasks themselves.

Shaping restores the tip's rounded profile, usually to something close to a nickel or dime radius, so the ball contacts a consistent curve instead of a flattened edge. For routine upkeep, a few light strokes with a tip shaper is enough for routine upkeep. A tip that's gone noticeably flat from heavy play needs more passes, sometimes double that, before the dome comes back.
Scuffing comes right after shaping, never before it. Shaping smooths the leather so much that chalk slides right off, so several light strokes with a scuffer or tip pick roughen the surface just enough to grip chalk again. Shaping first, then scuffing, is the sequence nearly every credible cue tech recommends, because scuffing a rough tip before shaping just wastes material you'll shave off anyway.
Burnishing is the step most players skip, and it's the one that prevents the mushroomed, flared edge you see on neglected tips. Rolling or compressing the sides of the tip against a burnishing tool slows that spreading. Doing it about once every week or two of regular play keeps the tip's edge tight against the ferrule instead of ballooning past it.
Chalking is the one task every player already does, though not always correctly. The technique that actually works is a brushing motion that covers the entire face of the tip, not a single hard twist that grinds a groove into the center. Do it before every shot, or at minimum before any shot that needs side spin or draw.
Pro Tip: Twist the chalk cube itself occasionally, not just the cue. Grinding one spot on the chalk creates a crater that concentrates pressure and wears your tip unevenly.
What's the Best Pre-Session Cue Care Routine?
Run through this before racking up, and it costs less time than tying your shoes:
- Look at the tip from the side. If the dome looks flattened or lopsided, it needs shaping. If it still holds a clean curve, skip straight to scuffing.
- Shape if needed. A few light strokes, rotating the cue slightly between passes so you don't flatten one side.
- Scuff. Several light strokes with a scuffer or tip pick, right after shaping, every time.
- Chalk. Rotate the cue while brushing chalk across the whole face, not just the middle.
- Burnish if it's been a week or two. Skip this daily. It's a maintenance step, not a pre-shot ritual.
Casual players can skip shaping most sessions and just scuff and chalk. Competitive players and league regulars should shape before every session regardless of how the tip looks, since tournament play punishes inconsistent contact fast.
Which Tools Do You Actually Need for Tip Care?
You don't need a full kit to keep a tip in shape, but the difference between the right tool and the wrong one shows up fast in how much leather you waste.
Combination tools that pack a shaper, scuffer, and sometimes a tip pick into one unit are worth buying first. They save pocket space in a cue case and cost about $5 to $20 for a basic model, which covers most players for years. Single-purpose tools, like a dedicated burnisher or a premium diamond-coated shaper, run higher but give more control if you're maintaining several cues or a harder tip that resists shaping.
Tip hardness changes what you should reach for. Soft tips shape and scuff fast, so light pressure and fewer strokes go a long way. Hard tips resist shaping and need firmer, more deliberate strokes, plus more frequent scuffing since they hold chalk less willingly.
- Combo tool: shaper, scuffer, sometimes a pick, all in one, roughly $5 to $20
- Tip pick: fine adjustments to surface texture without full scuffing
- Burnisher: slows mushrooming on the sides, used occasionally every week or two
- Chalk: hard chalk lasts longer and dusts less; soft chalk grips faster but wears down quicker
Store extra chalk in a sealed container. Chalk left exposed to air dries out and turns into "dead chalk" that flakes off the tip instead of bonding to it.
When Should You Replace a Pool Cue Tip?
A tip earns retirement, not repair, once it crosses a few clear lines.
A tip thinner than a few millimeters is a real concern, and you can check this with a quick fingernail test against the edge of the ferrule. Persistent mushrooming that comes back within a single session no matter how much you burnish is another signal the leather has lost its structure. Delamination, where you can see or feel the tip separating from the layers beneath it, means the tip is done regardless of thickness.
- Thickness under 3 to 4 mm: replace soon
- Mushrooming returns within one session despite burnishing: replace
- Visible delamination or separation: replace immediately
A new premium tip typically costs between a modest range, depending on the brand and your cuesmith's labor rate. If the ferrule looks damaged or the old tip won't come off clean, that's the point to hand it to a professional rather than attempt it yourself.
Do Carbon Fiber and Layered Tips Need Different Care?
Layered tips, the kind built from stacked leather discs, mushroom less than solid tips because each layer resists spreading independently. The tradeoff is that delamination between layers becomes the thing to watch instead. Carbon fiber and ferrule-less shafts take the same shaping, scuffing, burnishing, and chalking routine as any other cue, so nothing changes day to day.
The first re-tip on one of these shafts is a different story. Ferrule-less designs bond the tip directly to the shaft material, and getting that bond right without damaging the shaft usually calls for a professional cuesmith rather than a DIY job. If you notice bonding issues, a loose feel at the joint, or any damage near where the tip meets the shaft, that's your cue to get it looked at rather than force a fix yourself.
What Mistakes Ruin a Cue Tip Fastest?
The single most common mistake is over-scuffing, treating the tip like it needs sanding down to bare wood every session. Light scuffing or a tip pick does the job; aggressive sandpaper strips away leather you can't get back, and it shortens the life of an otherwise good tip fast.
A glazed tip, one that looks shiny and refuses to hold chalk, usually just needs a light scuff or a few passes with a tip pick to rough the surface back up. If scuffing stops working after repeated tries, the tip has likely hardened past the point of easy fixing and it's time to replace it.
- Grinding chalk into one spot instead of brushing the whole face
- Scuffing every session instead of only when chalk stops sticking
- Ignoring a glazed tip until it's too hard to fix with light scuffing
Pro Tip: If chalk won't stick even after a fresh scuff, wipe the tip with a dry cloth and check for oil transfer from your hands. Oily residue blocks chalk from bonding, and a professional re-tip is the fix if cleaning doesn't solve it.
How Do You Clean Chalk Dust and Debris off a Cue Tip?
Chalk buildup around the tip and ferrule looks harmless but actually interferes with how cleanly a fresh coat of chalk grips the surface. A light coating of old, compacted chalk dust fills in the micro-texture that scuffing creates, so the tip feels chalked but performs like it's glazed.
A dry, soft cloth wiped gently around the tip and ferrule after each session clears loose dust before it packs into the leather. For buildup that's settled in, a few light passes with a tip pick or scuffer knock it loose without needing solvents or water, both of which can soften leather and speed up wear. Avoid anything wet on the tip itself. Leather absorbs moisture, and a damp tip loses shape and grip fast.
If you notice a ring of hardened, dark residue right at the base of the tip where it meets the ferrule, that's usually old chalk mixed with oils from your hand. A cloth alone won't shift it. A gentle pass with a tip pick around that edge, followed by a normal scuff across the face, usually clears it without taking a full shaping pass.
Skip compressed air or brushes with stiff bristles. Both dislodge dust from the joints of your case, not the tip, and stiff bristles can scratch a soft tip's surface in ways that are hard to shape out later. A soft cloth and your existing tools handle this job fine without adding anything new to your kit.
Where Should You Store Your Cue to Protect the Tip?
Temperature and humidity swings do more damage to a tip over time than a season of hard play. Cue shafts and tips both suffer when exposed to heat or excess moisture, since leather dries and hardens in heat and absorbs moisture in humid conditions, both of which throw off how it holds chalk and takes shape.
A hard case beats a soft one for anyone who travels with a cue regularly, since it blocks impact and slows temperature swings better than fabric. Leaving a cue in a car trunk, even for a few hours, is one of the fastest ways to bake a tip stiff or, in cold weather, make the leather brittle enough to crack under normal shaping strokes.
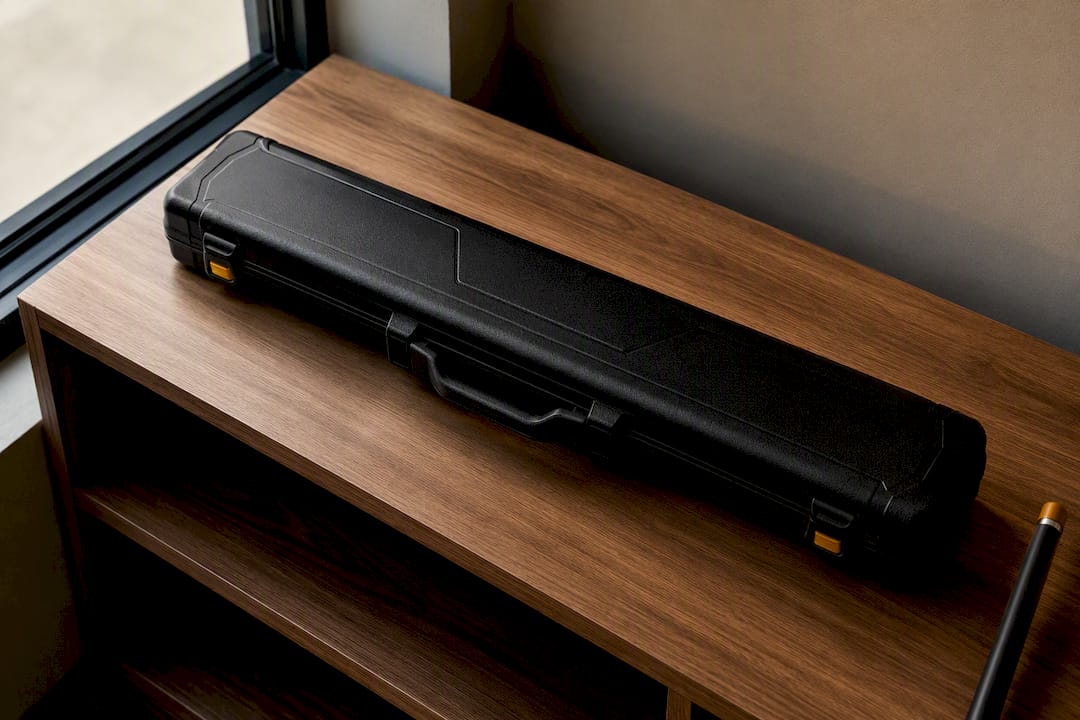
Keep cues away from direct sunlight and radiators at home, and avoid basements or garages prone to damp air if you store a cue long term. A consistent room temperature with normal indoor humidity is close to ideal. If you notice your tip feeling unusually hard or unusually soft compared to how it played last week, check where it's been stored before assuming the tip itself has gone bad. Shaft condition matters here too, since a warped or poorly stored shaft throws off contact in ways that can look like a tip problem when it isn't one.
A Habit Worth Building Into Every Session
Ninety seconds of upkeep protects a tip that costs somewhere between $20 and $30 to replace, and it does more for your consistency than almost any other equipment habit you could build. The players who stick with it aren't more disciplined, they just made it automatic. Keep a scuffer clipped inside your case lid where you'll see it every time you open it. Fold the routine into your warm-up instead of treating it as a separate chore, and if you play at a club regularly, ask around, plenty of regulars are happy to remind each other before a match starts. A tip that meets the ball the same way every time is what actually shows up in your cue ball control on the table.
— Q
Practice What You've Learned at Q Billiards Arena
Reading about tip maintenance only gets you so far. The arena gives you tables to actually feel the difference a freshly shaped, scuffed, and chalked tip makes on contact and spin, without booking a whole evening around it. Bring your own cue and put a maintained tip through real shots, or borrow house equipment and compare the feel side by side.

Staff on the floor can point you toward local cuesmiths for a proper re-tip if your thickness check comes back thin, or flag upcoming events worth building your routine around. Check the games and pricing page for table rates and hours, or look at the tournament schedule if you want a deadline that'll actually get you scuffing before every session instead of skipping it. Either way, the next step is simple: book a table and see what a well-kept tip actually feels like under real play.
Sources
For deeper technique breakdowns beyond this routine, PoolDawg's tip maintenance guide, JFlowers Cues' maintenance guide, the WPA's chalking guide, and DrDavePoolInfo's tip care FAQ cover the technical detail behind these recommendations.
- Pool cue tip maintenance guide — JFlowers Cues
- The Complete Guide to Pool Cue Tip Maintenance — PoolDawg Academy
- The proper way to chalk your tip — WPA Pool
- Cue Tip Maintenance — DrDavePoolInfo
FAQ
How Often Should a Pool Cue Tip Be Replaced?
Replace a tip once it drops below roughly 3 to 4 millimeters thick, shows delamination, or keeps mushrooming despite regular burnishing. Most players who maintain their tips well go a year or more between replacements, while heavy players may need one sooner.
How Much Does It Cost to Get a Cue Tip Replaced?
A new premium tip typically costs $15 to $30 installed, depending on the tip brand and the cuesmith's labor rate. Ferrule-less or carbon fiber shafts often cost more for a first re-tip since the job usually needs professional bonding.
How Often Should You Scuff a Cue Tip?
Scuff whenever chalk stops sticking well or right after shaping, not on a fixed daily schedule. Over-scuffing every session wastes leather and shortens the tip's life faster than under-scuffing does.
How Do You Break in a New Cue Tip?
Shape the new tip to a slight dome first, then scuff it lightly to open up the surface so chalk grips properly from the first session. Chalk it fully before your first few shots rather than expecting a factory tip to hold chalk right out of the package.